
How to Create Invoices in Xero (Step-By-Step Guide)
If you're learning how to create invoices in Xero for your small business, this guide walks you through each step with simple explanations and clear screenshots.
Xero is a popular accounting platform for Australian small businesses, and for good reason. It makes invoicing simple and reliable once you know where everything is.
In this guide, we show you exactly how to create invoices in Xero step by step. If you’d like help setting things up correctly, our bookkeeping services can manage this for you.
How to Invoice in Xero — Quick Overview
To invoice in Xero, you create a new invoice, enter customer details, add your products or services, apply the correct GST, and send it directly from Xero. The steps below break this down so you can follow along with confidence.
Before You Start: Setup Checklist
- ✔️ Logo uploaded
- ✔️ ABN showing on the invoice
- ✔️ GST settings correct (if registered)
- ✔️ Standard payment terms added
- ✔️ Bank account or Stripe/PayPal connected
- ✔️ Invoice branding theme selected
 Xero Settings → Invoice Branding
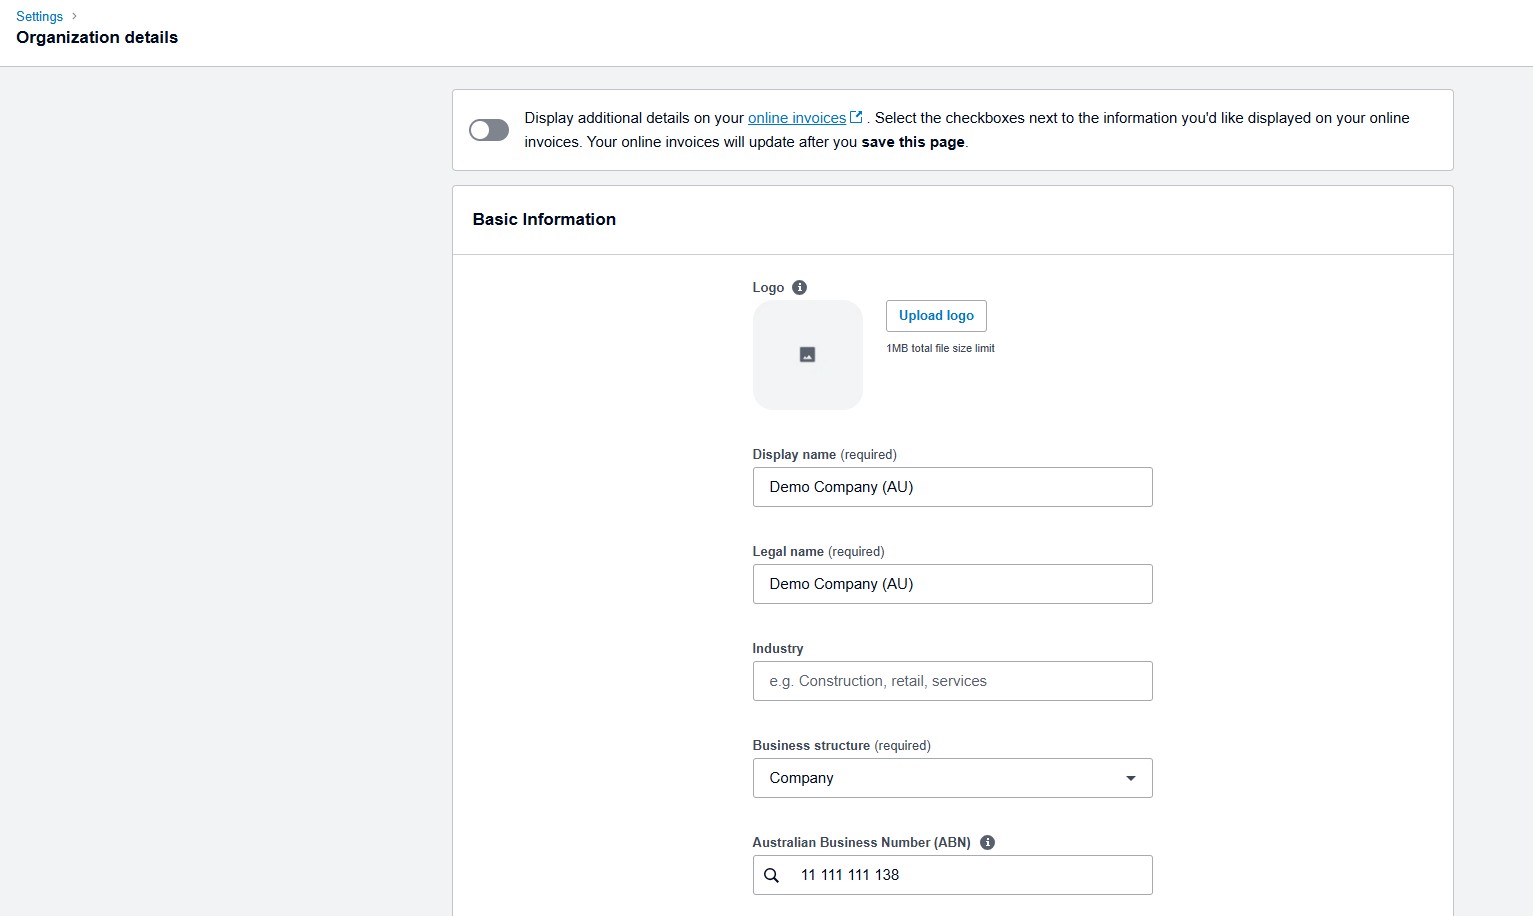
Step 1 — Set Up Your Invoice Branding
First, go to Settings → Invoice Settings → Branding. Here you can:
- Upload your business logo
- Choose brand colours
- Add legal business name and ABN
- Set standard payment terms
- Include bank details or Stripe/PayPal options
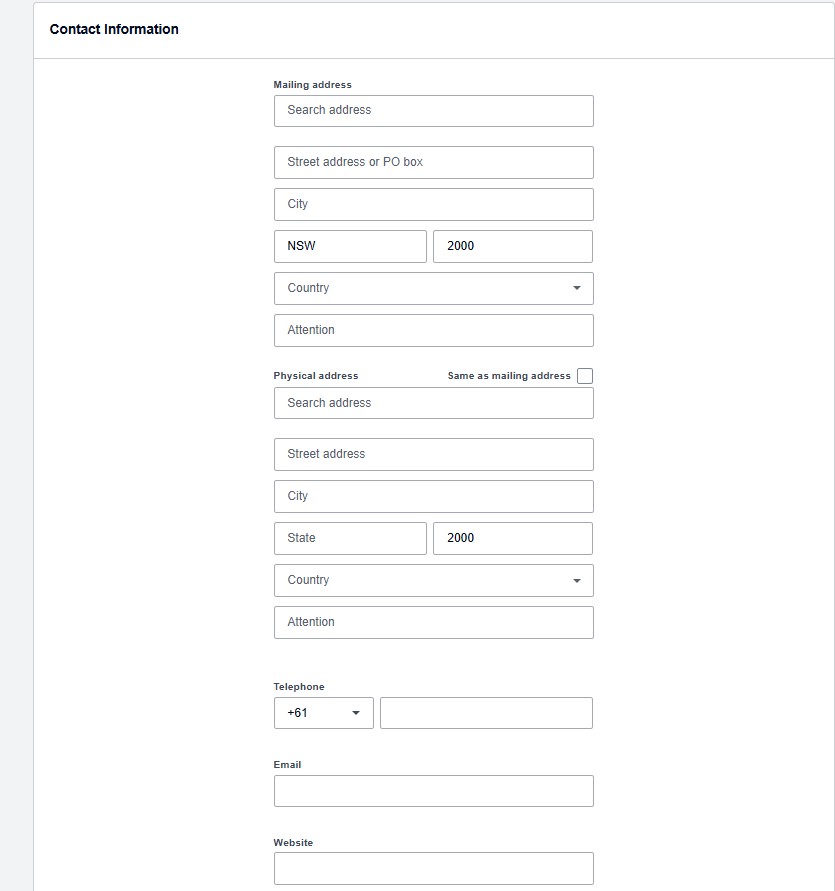
Step 2 — Add Your Customer
Next, set up your customer details so invoicing stays quick and consistent.
Go to Contacts → New Contact and enter:
- Business or client name
- Primary contact person
- Email address for invoices
- Agreed payment terms
- ABN (optional but useful for records)
 Xero → Contacts → New Contact
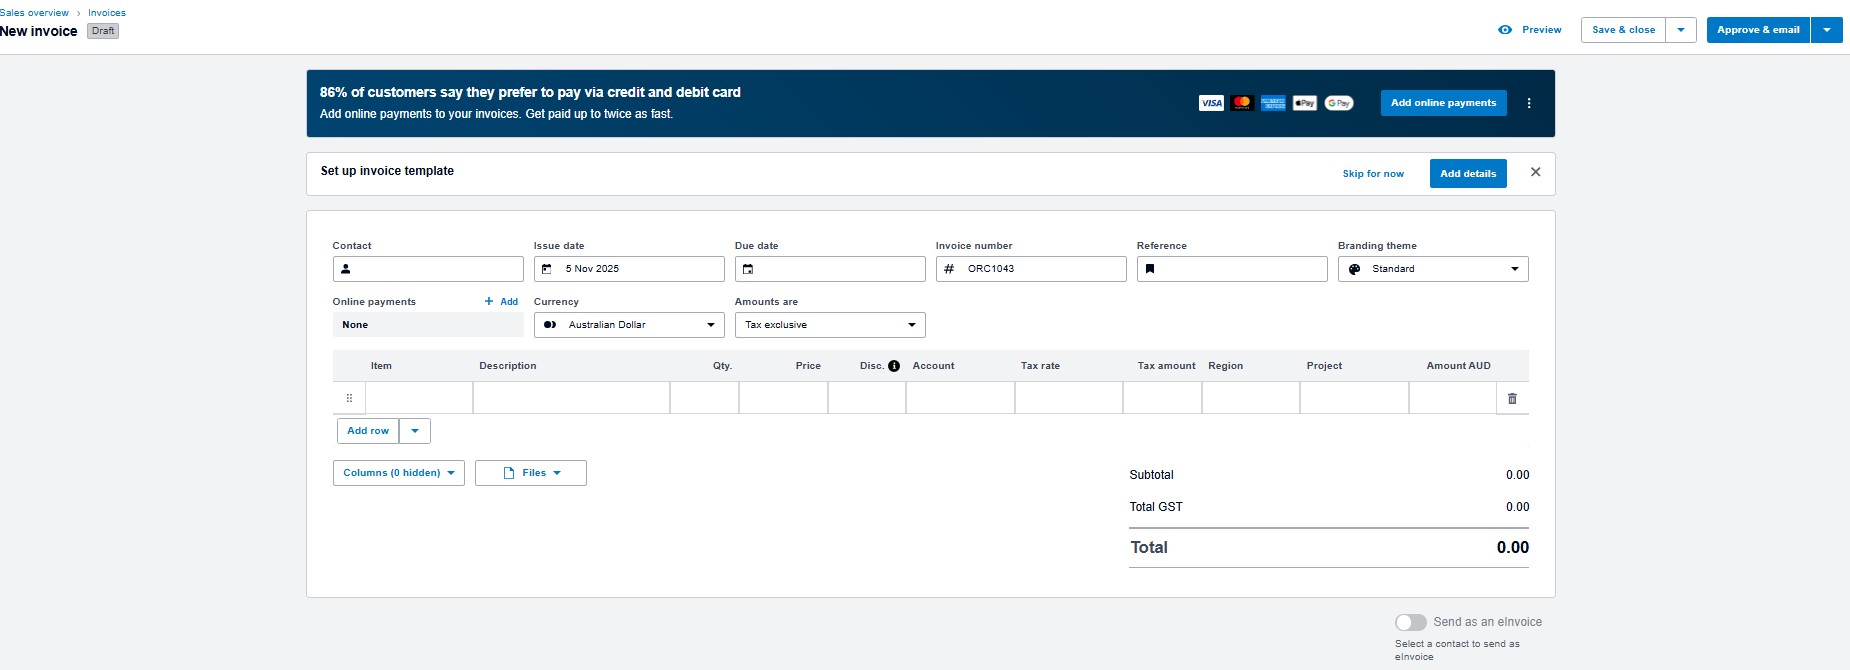
Step 3 — Create Your Invoice in Xero
Now you are ready to create the invoice.
Go to Business → Invoices → New Invoice, then:
- Select the correct customer
- Enter the invoice date and due date
- Add a PO number or job reference if required
- Insert item descriptions and amounts
- Select the correct GST treatment for each line
- Attach supporting files such as quotes or job sheets (optional)
 Create Invoice in Xero
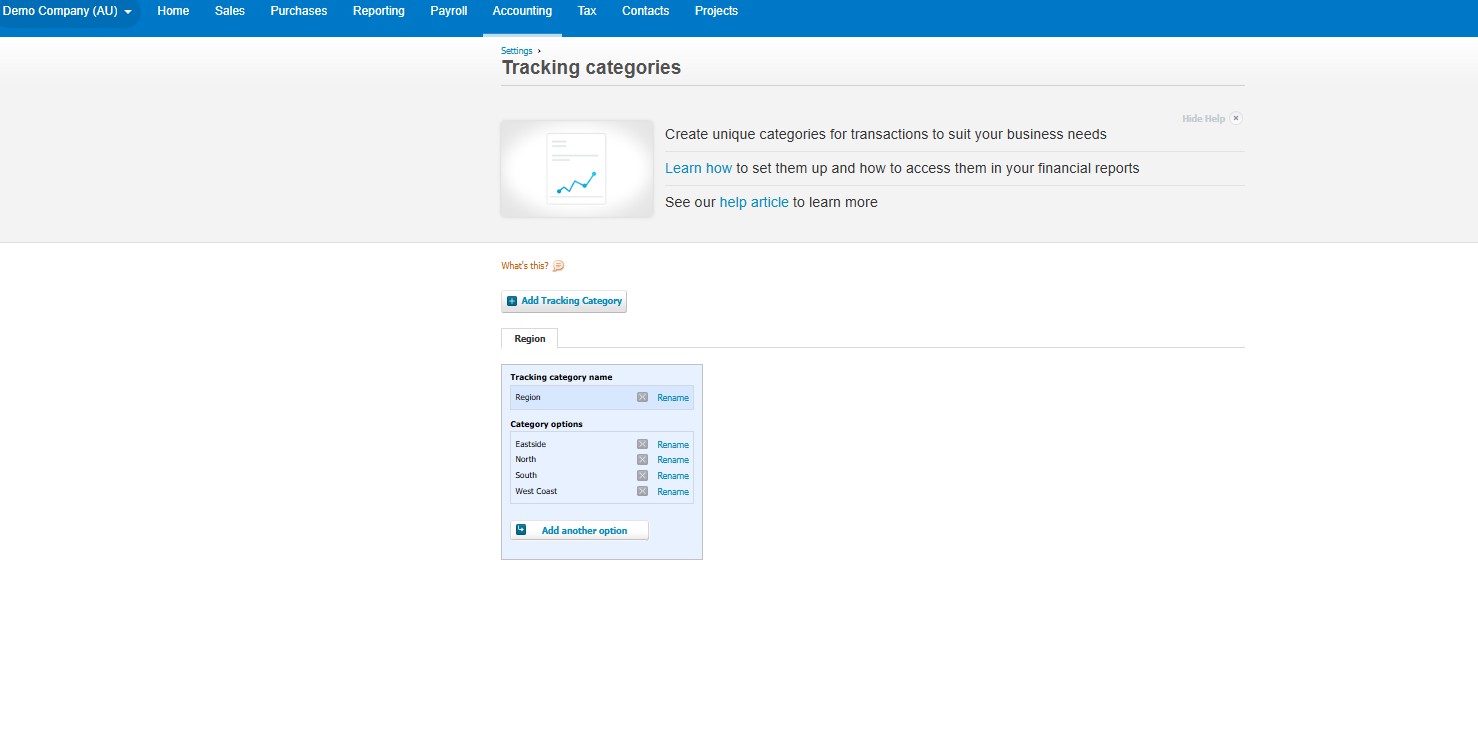
Step 4 — Use Tracking Categories (Optional)
Tracking categories help you see which parts of your business are performing well. For example, you can track by:
- Location
- Service type (e.g. bookkeeping, payroll)
- Project or job
 Xero Tracking Categories
Step 5 — Preview & Send Your Invoice
Before sending, quickly review the key details:
- Customer and email address are correct
- Dates, amounts and descriptions are accurate
- GST is applied correctly
- Bank or payment details are clearly shown
Once everything looks right, click Send.
Optional — Enable Automatic Invoice Reminders
To reduce late payments, you can turn on reminders in Xero.
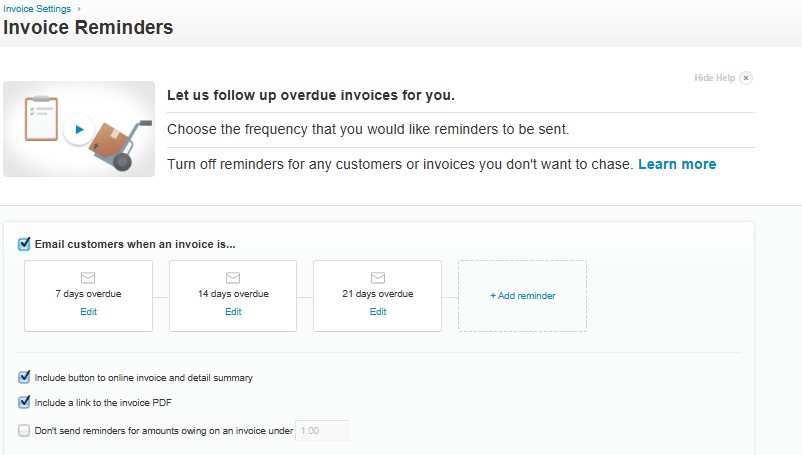 Automatic Reminders in Xero
Many businesses use reminder schedules such as:
- 3 days before the due date
- 1 day after the due date
- 7 days overdue
How to Get Paid Faster in Xero
To improve cash flow, consider these simple changes:
- Enable Stripe, PayPal or similar “Pay Now” options
- Use shorter payment terms (7–14 days)
- Send invoices as soon as the job is complete
- Include clear late fee or reminder terms if applicable
Common Xero Invoicing Mistakes to Avoid
- ❌ Forgetting to apply GST when required
- ❌ Leaving ABN off the invoice
- ❌ Sending to the wrong email address
- ❌ Issuing invoices weeks after the work is done
- ❌ Not including bank or payment details
Need Help With Xero?
If you’d like support setting up Xero or want a clear process for how to create invoices in Xero, our team can help with setup, training and ongoing bookkeeping.
We work with Australian businesses to streamline invoicing, BAS, payroll and automation so your accounts stay accurate and up to date.
For more detail, you can also review these official resources:
Talk to a local bookkeeping professional who works with Xero every day.
Book a consultation